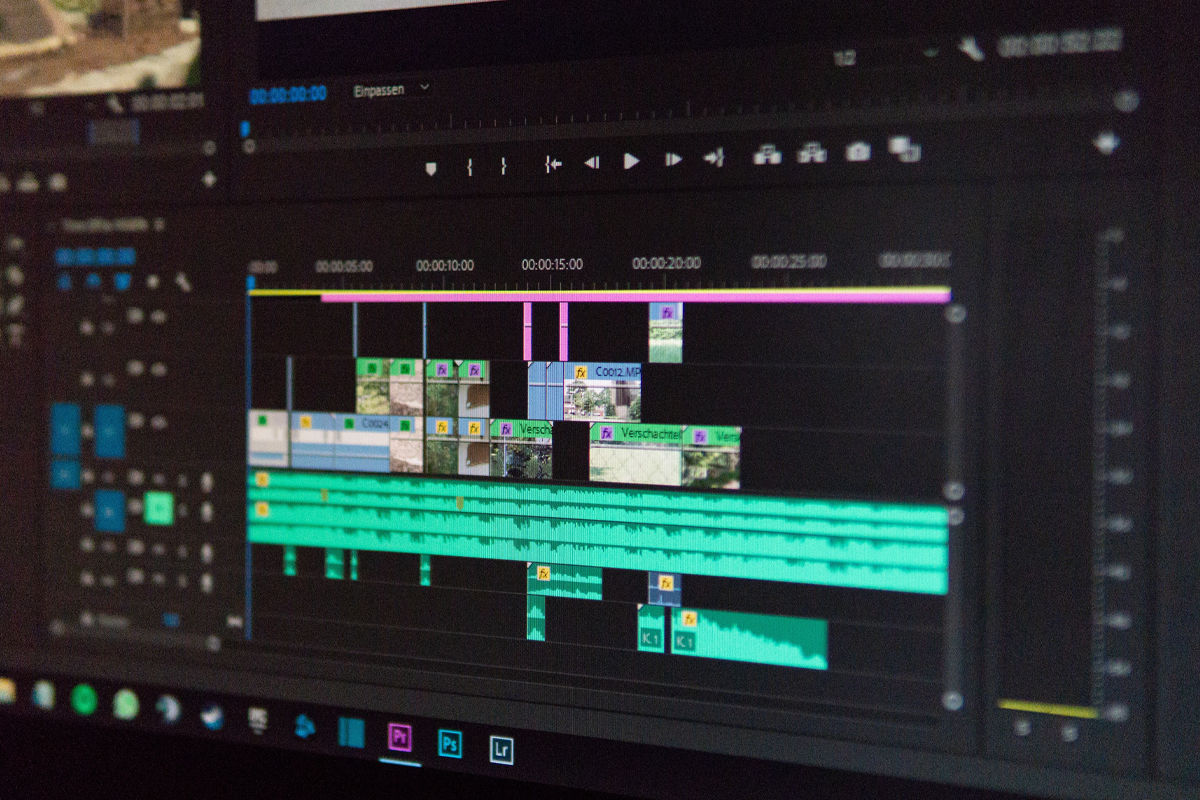
Aligning recorded audio to a grid, or quantizing, results in audio that feels more in time. Use Pro Tools’ Elastic Audio feature to quantize your drum recordings if you want to make them sound tight. This blog post will explain how to use Elastic Audio to quantize drums in Pro Tools and how to swap out the hits for premium drum samples from Macdrum.com.
Step 1: Setting up Elastic Audio
Make sure Elastic Audio is turned on in your Pro Tools session before you begin quantizing your drums. To enable this, select “Elastic Audio” from the “Setup” menu. Next, decide which Elastic Audio type you want to use for your session. We suggest selecting the “Polyphonic” setting for drum quantizing.
Step 2: Importing Drum Samples from Macdrum.com
You can import the professional drum samples from Macdrum.com into your Pro Tools session if you want to swap out the beats in your drum recordings for professional level. To achieve this, choose “Import Audio” from the “File” menu. Select the desired samples by navigating to the folder containing your Macdrum samples.
Step 3: Quantizing your Drums
You’re ready to start quantizing your drums now that your drum recordings and Macdrum samples have been loaded into your Pro Tools session. Select the drum track you want to quantize and go to the “Elastic Audio” menu to the left of your track in the track controls panel, near the mute and solo buttons. After that, select “Quantize.”
You can select the quantization’s strength, the grid you wish to use, and the number of beats in the Quantize window. We recommend using a strength of 75% and quantizing to 1/16th notes for drums. To hear how the quantized drums will sound before applying the quantization, use the “Preview” button.
Step 4: Replacing the Hits with Macdrum Samples
Once your drums have been quantized, you may swap out the hits with the professional samples from Macdrum.com. Select the hit you want to replace, then select “Edit” from the menu. After that, choose “Paste.” The hit will be replaced by the Macdrum sample, and you can do this for each hit in your drum track.
Step 5: Finalizing Your Drums
Once you’ve added all your other instruments and or vocals and mixed the track, it’s time to finish your track that includes quantized drums and the samples that have been added. To do this, choose “Bounce to Disk” from the “Mix” menu. You can select the format and quality of the bounced file in the Bounce to Disk window. We advise bouncing to a top-notch WAV file.
That’s it, folks! Following these small steps will show you how to use Elastic Audio to quantize your drums in Pro Tools and replace the beats with premium samples from Macdrum.com. Your tunes will sound better than ever with crisp, powerful drums!